In This Guide
Switching your beverage cartons to attached paper straws seems straightforward, but getting them to stick perfectly at high speed can be a real challenge. A poorly planned trial for your attached paper straw applicator can lead to costly downtime, wasted product, and major production headaches. A structured checklist is the key to managing this process and ensuring a smooth, successful launch.
A successful trial for an attached paper straw applicator is a systematic, multi-stage process. It starts with static material checks—validating the straw, adhesive, and carton—and then moves to dynamic, at-speed testing of the entire integrated system. The ultimate goal is to confirm performance, reliability, and low waste rates before granting full production line approval.
Now that you have the big picture, let's break this down. A successful trial isn't just about the machine passing a test. It’s about making sure all the parts—the straw, the glue, the carton, and the applicator—work together as a reliable system.
What Should You Test Before Even Turning on the Applicator?
It’s so tempting to just load up the machine and hit the "start" button. I get it. But from my experience, if your materials aren't a good match from the start, you're just setting yourself up for jams, weak adhesion, and a lot of frustration. A pre-trial static check validates your core components first, saving you a ton of time later.
Before starting the attached paper straw applicator, you absolutely must test the static compatibility of the straw, the adhesive, and your carton's surface. This means checking straw dimensions, confirming the adhesive’s technical specs, and understanding how well it will bond to your specific carton material.
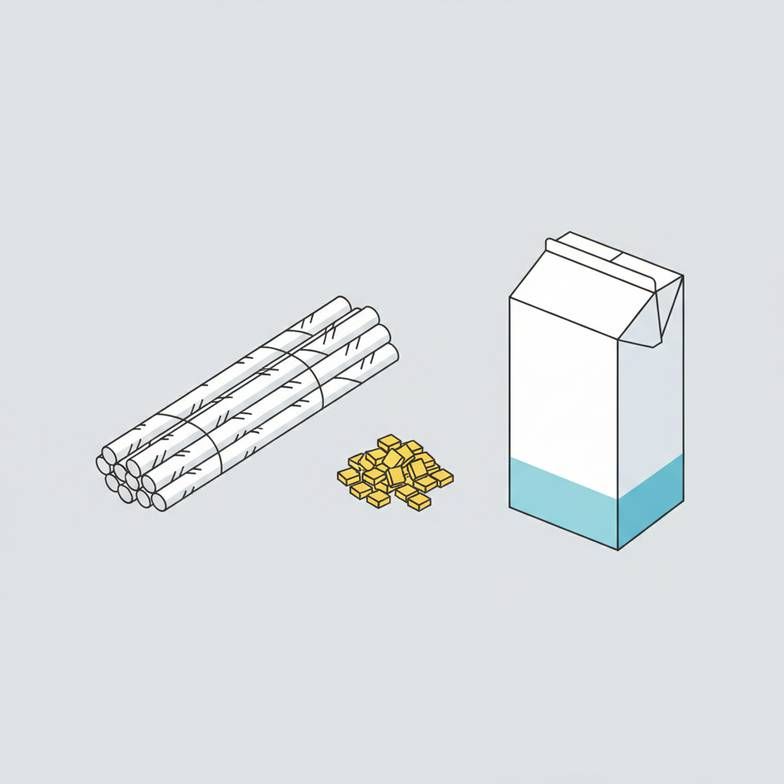
Dive Deeper: The Foundation of a Successful Trial
This initial phase is all about paperwork and benchtop tests. It’s the least exciting part, but honestly, it’s where you can solve about 50% of potential problems before they ever hit your production line.
The Straw Itself: More Than Just a Tube
A strip of paper straws might look simple, but tiny variations can cause big problems. You need to verify:
- Dimensions: Use a digital caliper to check the length, width, and thickness of the straw strip. Does it match the specifications required by the applicator’s magazine and feeding mechanism? Even a millimeter off can lead to misfeeds.
- Stiffness and Straightness: The straw strip needs to be stiff enough to be pushed through the machine's guides without buckling, but not so rigid that it causes jams. Lay a few strips on a flat surface. Do they lie perfectly flat? Any bowing or warping is a red flag.
- Wrapping Material: The outer film on the straw strip is the surface the glue actually bonds to. Is it a simple BOPP film? Does it have a special coating? You need to know this to select the right adhesive.
The Adhesive: The Unsung Hero of the System
We often see clients focus on the machine, but the hot melt adhesive is just as critical. A common question we get is about cost, but the right question is about the cost of downtime caused by the wrong glue. You need to check the supplier's Technical Data Sheet (TDS) for:
- Open Time: This is the critical window you have between when the glue is applied and when it cools too much to form a strong bond. For a high-speed line, you need enough open time for the straw to be picked, placed, and pressed before the glue sets.
- Viscosity: This is the "thickness" of the molten glue. It has to match what the applicator’s pump and nozzle are designed for. The wrong viscosity leads to stringing, inconsistent dots, or nozzle clogs.
- Application Temperature: Every hot melt has an ideal temperature range. Too hot, and it can become too thin or degrade. Too cool, and it won't bond properly. Make sure the applicator's heating system can consistently hold the temperature recommended on the TDS.
The Carton: The Final Destination
The straw and glue can be perfect, but if they can’t stick to your carton, the whole system fails. Check your:
- Surface Coating: Most beverage cartons have a polyethylene (PE) coating or sometimes a UV varnish. These low-energy surfaces can be difficult to bond to. In some cases, the area where the straw is applied may need a "corona treatment" on the printing line to increase surface energy and promote adhesion.
- Flatness and Consistency: Grab a stack of cartons from your line. Are they flat? Are the dimensions consistent? A warped carton won't make even contact with the applicator head, resulting in poor adhesion on one side of the straw.
How Do You Evaluate the Dynamic Trial of an Attached Paper Straw Applicator?
Okay, so all your materials check out on paper. Now it's time to run the machine. But this is where theory meets reality. Suddenly, straws might be slightly crooked, glue can create thin "angel hair" strings, and the line keeps stopping for unknown reasons. The static tests couldn't predict this.
Evaluating the dynamic trial of an attached paper straw applicator means running the machine at gradually increasing speeds. You must meticulously measure key performance indicators like positioning accuracy and adhesion strength, while also observing the system for qualitative issues like glue stringing or damage to the straws during application.
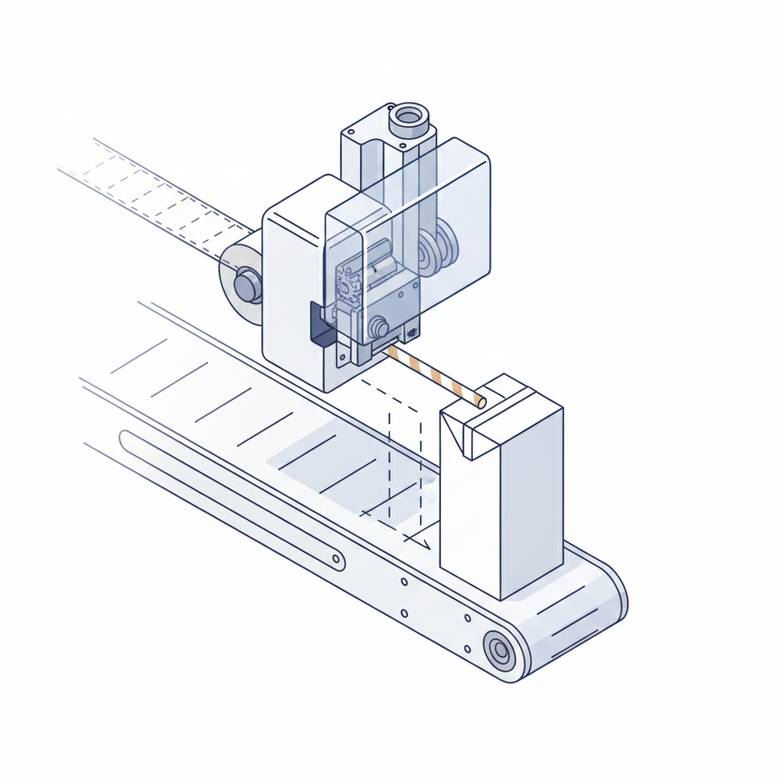
Dive Deeper: Capturing Data Under Pressure
This is the most active phase of the trial. Your goal is to create a data-driven picture of how the system performs under the stress of speed and continuous motion.
Start Slow, Ramp Up Methodically
One of the biggest mistakes I see teams make is jumping straight to 100% of the target speed. This is a recipe for failure and makes troubleshooting nearly impossible. Instead, follow a structured ramp-up plan:
- Jog and Index: Manually cycle the machine without glue to ensure the mechanical movements are smooth.
- Run at 25% Speed: Turn on the glue and run at a slow, observable speed. Check for the basics: Is a straw picked up every time? Is glue applied? Is the straw placed on the carton?
- Run at 50% and 75% Speed: Gradually increase the speed, pulling samples at each stage. This is where issues like glue stringing or slight misalignments often start to appear. Document everything.
- Run at 100% Target Speed: Once you're confident at lower speeds, push it to the full target. The goal is to see if the system can maintain quality and consistency at the required throughput.
The KPIs That Really Matter
During the dynamic trial, you need to be measuring, not just watching. Get your calipers, force gauges, and a notepad ready.
| Key Performance Indicator (KPI) | Example Target | How to Measure | Common Failure Points to Look For |
|---|---|---|---|
| Positional Accuracy | ± 2mm from center line | Use a digital caliper to measure the placement on at least 20-30 consecutive cartons. | Worn machine guides, incorrect sensor timing, inconsistent carton feeding. |
| Initial Adhesion | Straw tears before bond fails | Immediately after application, try to peel the straw off. The bond should be strong enough that the straw's paper wrap tears. | Incorrect glue temperature, insufficient application pressure, short open time. |
| Glue Application Quality | Clean, consistent bead/dot | Visually inspect the glue pattern. There should be no "stringing," "angel hair," or excessive glue squeezing out from under the straw. | Wrong viscosity/temperature, dirty or damaged nozzle, incorrect air pressure. |
| System Throughput | ≥ 95% of target PPM | Use the line's counter to measure actual output over a 15-minute period. Compare it to the machine's set speed. | Frequent micro-stops from misfeeds, jams, or missed straw pickups. |
This data is your objective evidence. It moves the conversation with your supplier from "it doesn't seem to be working right" to "we are seeing a positional variance of 4mm on 15% of products when running at 80 PPM."
What Defines True "Line Approval" for Your Straw Applicator?
You've just finished a successful one-hour run at full speed. Everything looks great, and the team is ready to celebrate. But hold on. Two days into full production, the night shift operator is constantly adjusting the machine, the floor is littered with rejected cartons, and the maintenance team is complaining about cleaning glue buildup. The short trial was misleading.
True line approval for an attached paper straw applicator isn't about a single perfect run. It is earned after a sustained production test—typically a full 4- to 8-hour shift—where you can measure long-term stability, calculate the actual waste rate, and log the frequency of operator interventions.
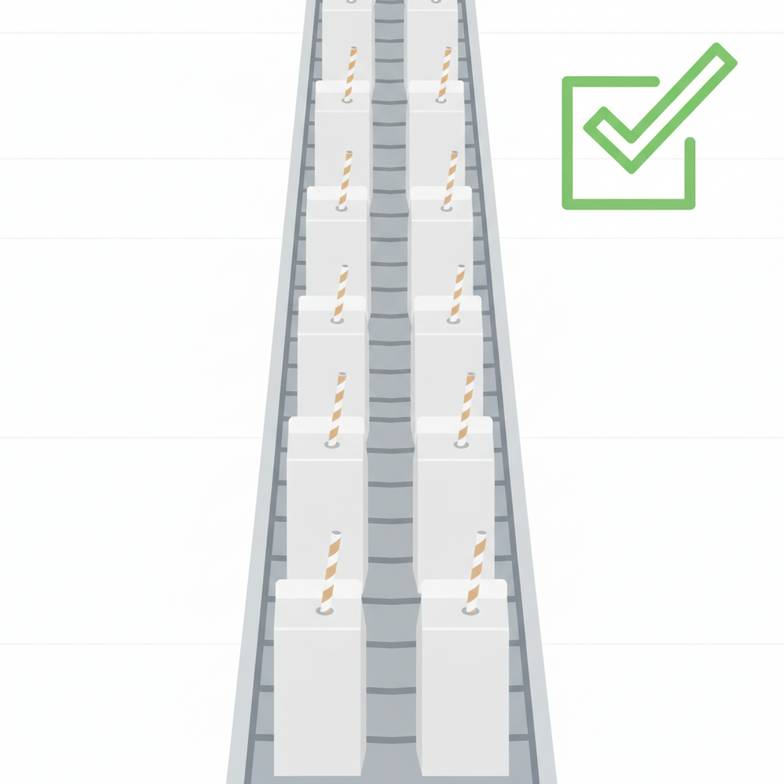
Dive Deeper: From a Successful Test to a Reliable Process
This final phase confirms that the system is not just functional but also sustainable for your daily operations. It’s about ensuring the machine can run for hours with minimal babysitting.
The Endurance Run: It's a Marathon, Not a Sprint
Schedule a continuous run for at least four hours, and ideally for a full eight-hour shift. This is the only way to uncover problems that don't show up in short bursts, such as:
- Thermal Drift: Do sensors or machine performance change as the whole system heats up over several hours?
- Material Reloads: How smoothly can an operator reload a new reel of straws without stopping the line for too long? Does the first straw after a splice apply correctly?
- Shift Handover: Can an operator from the next shift take over without extensive retraining or adjustments?
During this run, you're not just looking for failures; you're looking for signs of instability.
Measuring What Matters to a Factory Manager
For this final test, the KPIs change. You're now focused on operational efficiency and total cost of ownership.
- Overall Equipment Effectiveness (OEE): This is the gold standard. It combines availability (run time vs. planned time), performance (actual speed vs. target speed), and quality (good cartons vs. total cartons).
- Waste Rate: This is critical. For the entire shift, track every single rejected carton and why it was rejected (e.g., crooked straw, no straw, crushed straw). Calculate this as a percentage of total production. Your goal should be well under 1%.
- Operator Intervention Frequency: This is a huge indicator of process stability. Give the operator a log sheet and have them mark down every single time they have to touch the machine—clear a jam, adjust a sensor, wipe a nozzle, etc. If they are touching it every 15 minutes, the process is not stable, even if the waste rate is low.
- Mean Time Between Failure (MTBF): How long, on average, does the applicator run without an unplanned stop that requires intervention? A higher MTBF means a more reliable system.
This endurance run is also the ultimate test of your supplier. Are they on-site with you during this run? Are they available on a video call to troubleshoot? A good partner—whether they supply the machine, the straws, or the whole solution like we do—wants to be there to ensure a successful handover. It proves they are invested in your long-term success, not just the initial sale.
Frequently Asked Questions
How much hot melt adhesive should be used per straw?
There's no single "correct" amount. It depends on the adhesive's viscosity, the carton's surface, and your line speed. The goal is to use the minimum amount needed for a bond that tears the straw's paper wrap upon removal, without any excess squeezing out. Always start with the supplier's recommendation and optimize from there during your trial.
What's the most common reason an applicator trial fails?
From our experience, the most common reason is a system mismatch, not a simple machine fault. It's usually an incompatible adhesive for the carton's coating, or a paper straw that lacks the proper stiffness for the machine's feeding mechanism. This is exactly why those pre-trial static checks are so important.
Can I use paper straws from one supplier with an applicator from another?
Yes, but it demands very careful validation. The applicator is designed around specific tolerances for straw strip dimensions, stiffness, and wrapping material. You must get the machine's required specifications and ensure the straw supplier can meet them consistently. This is one area where sourcing the attached paper straw applicator and straws from a single, integrated supplier can significantly de-risk the project.
What is "open time" for hot melt glue and why does it matter?
Open time is the brief window between when the glue is applied to the carton and when it cools too much to form a strong bond with the straw. On a fast production line, you need an adhesive with an open time that's long enough for the machine to accurately place and press the straw before the glue solidifies.
Conclusion
A successful integration of an attached paper straw applicator isn't a matter of luck; it's the result of a structured, data-driven trial. By moving systematically from static material checks to dynamic performance tests and finally to a long-term endurance run, you transform a potentially chaotic process into a predictable one. Your checklist is your roadmap, helping you validate the entire system—the straw, the adhesive, the carton, and the machine. This methodical approach de-risks your investment and ensures that when you give that final "line approval," you're confident in the system's ability to perform reliably, shift after shift.
If you're planning to integrate an attached paper straw system, our team has the practical experience to help you build a comprehensive trial plan. Contact us today to discuss your project and let's make sure your line approval is a success from day one.
Matched Formats for Beverage Cartons
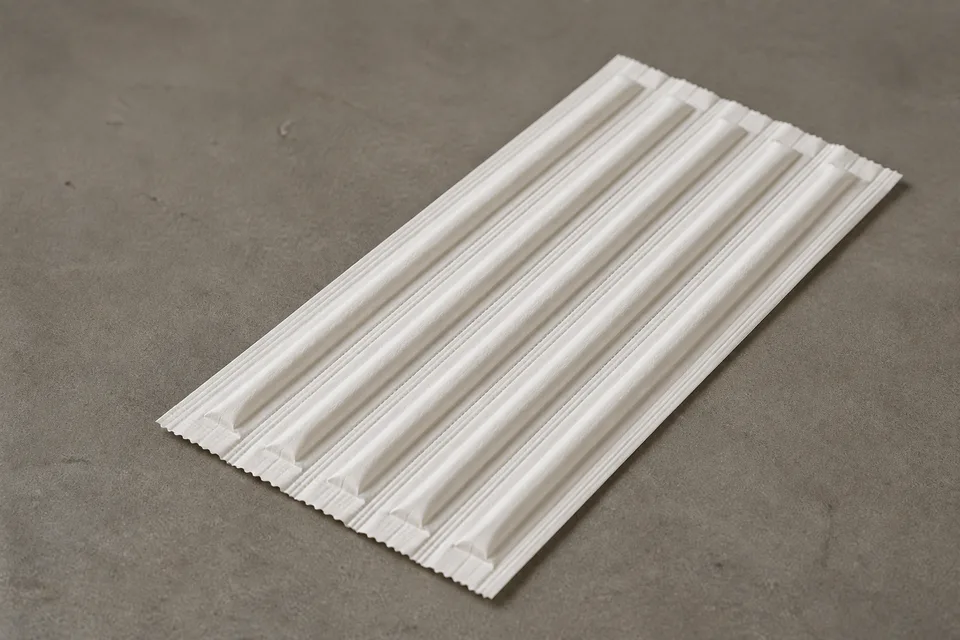
Attached Paper Straws
Connected continuous strip for high-speed automatic carton applicators.
View Product Specs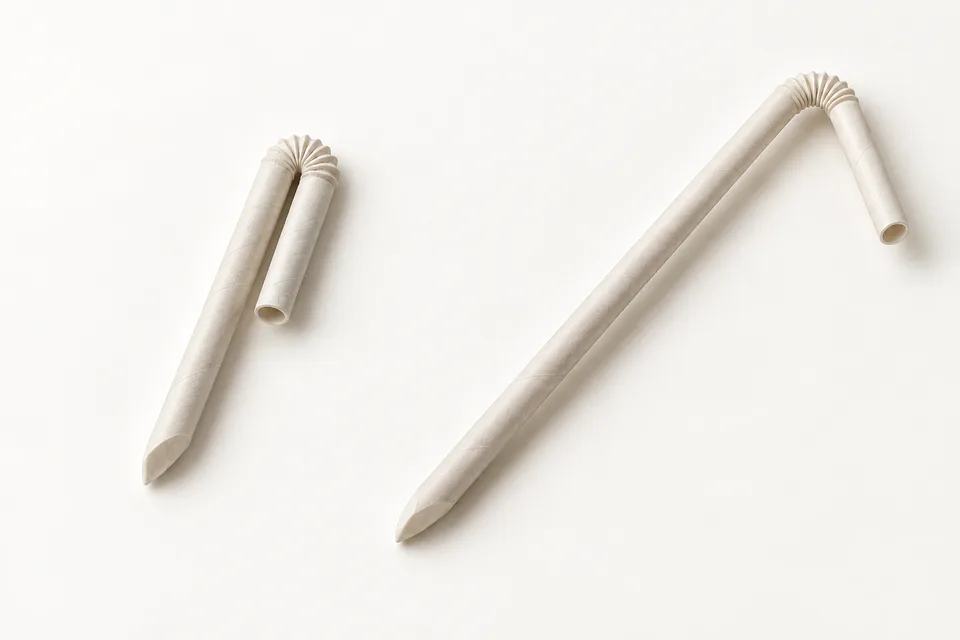
U-Shaped Paper Straws
Folded 180° format maximizing drinking reach on compact beverage cartons.
View Product Specs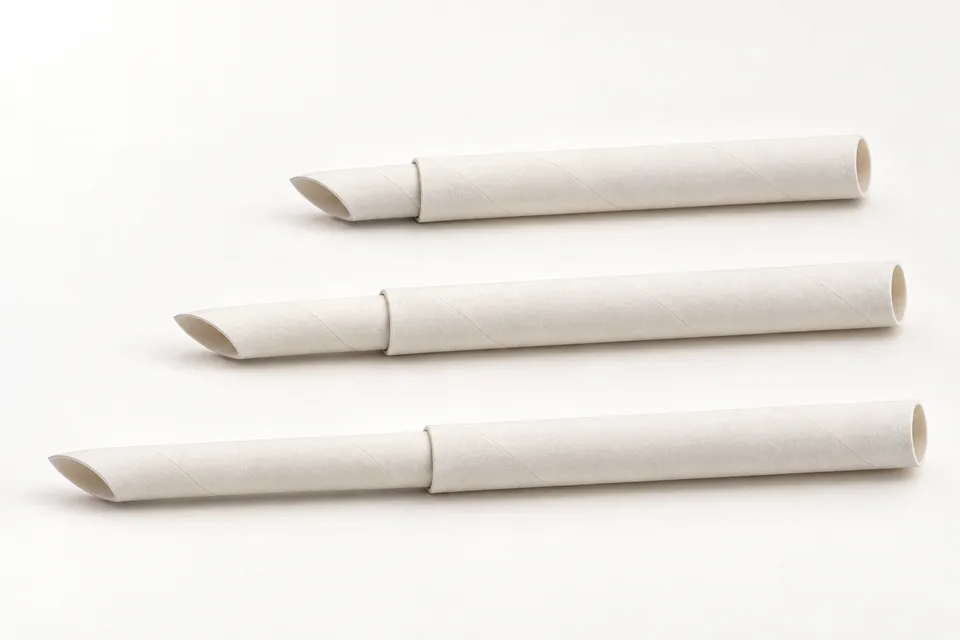
Telescopic Paper Straws
Two-section extendable design offering maximum reach from minimum packed length.
View Product Specs