In This Guide
Getting your brand’s logo printed on a tiny straw wrapper seems simple, right? But then the worries creep in. You start imagining logos cut in half, text that’s crooked, or worse, a whole batch of straws that your machinery can't even use. Getting perfect print registration on attached paper straw wrappers is a common challenge, but the solution isn't about finding a secret formula. It's about understanding how repeat length and orientation work together.
The final print registration is determined by a calculated "print repeat length" and a strategic choice of "print orientation." The repeat length is not a standard number; it's a variable calculated from the straw's final length, the wrapper material's stretch during production, and the cutting tolerance of the wrapping machine. The orientation—horizontal or vertical—is a trade-off between your branding goals and manufacturing efficiency.
I know this sounds a bit technical, but it really boils down to a few key decisions that can save you a lot of money and headaches. Let's walk through what you actually need to know to get a result that looks professional and integrates smoothly into your production.
How Do You Determine the Correct Print Repeat Length?
You're ready to order, and your supplier asks for the print repeat length. You know the straw is 120mm long, so is the answer just... 120mm? Guessing wrong here could leave you with thousands of misprinted wrappers and a big invoice for a product you can't use.
The correct print repeat length isn't a standard number you can just look up in a chart. It’s a specific value calculated for your project, based on your final straw length plus allowances for material behavior and machine precision.
Dive Deeper: More Than Just Simple Math
When we work with clients on custom printed straws, one of the first things we clear up is the idea of repeat length. It's a classic case where the most obvious answer is usually the wrong one.
Why "Straw Length + A Little Extra" Isn't Enough
You can't just take the straw length and add a millimeter for good luck. The calculation is more nuanced. Here’s what a good supplier considers:
- Final Straw Length: This is the starting point. If your straw needs to be 150mm after it's cut and formed, that's our baseline.
- Material Stretch: The paper wrapper is a thin material pulled under tension through a machine. It can stretch slightly, maybe a fraction of a percent. It doesn't sound like much, but over thousands of repetitions, it can cause the print to "walk" out of alignment. The repeat length must compensate for this.
- Cutting Tolerance: No machine is perfect. A cutting blade might have a tolerance of ±0.5mm or more. Your print design needs a "safe zone" so that even if the cut is slightly off, your logo isn't decapitated.
The All-Important Registration Mark (or "Eye Mark")
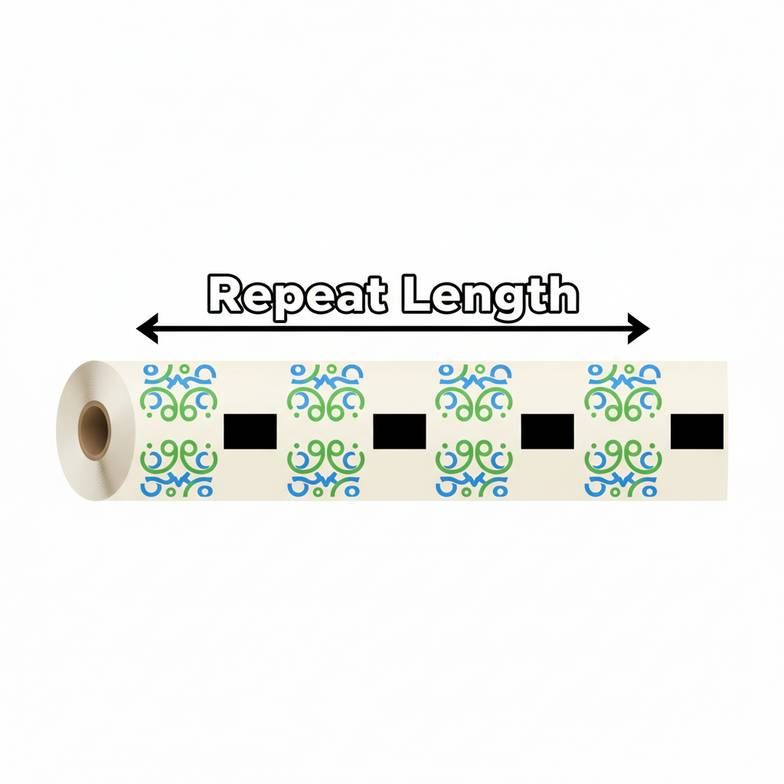
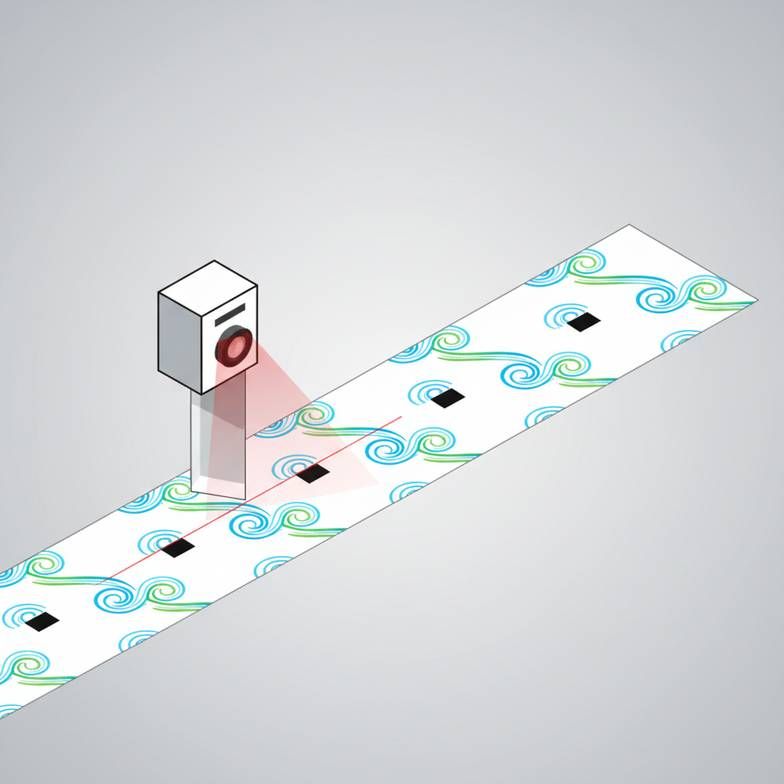
Look closely at a roll of printed wrapping material. You'll see a small, solid rectangle printed at regular intervals, usually in black. This is the "eye mark."
This mark is everything.
An optical sensor on the wrapping machine reads this mark to know exactly when to cut. The distance from the leading edge of one eye mark to the leading edge of the next one is the print repeat length. If that distance is wrong, the machine cuts in the wrong place. Simple as that. Your logo, text, and the eye mark itself are all part of one repeating print block.
The Right Way to Specify Repeat Length
So, instead of asking your supplier "What's the standard repeat length?", you should change the conversation. The most productive approach is to provide your project details and ask for a recommendation.
Here’s a checklist of information we use to help customers avoid costly printing errors. Provide your supplier with:
- The final, required length of the paper straw.
- The diameter of the straw (as this affects the amount of paper used).
- Your complete artwork file, showing the logo and its desired position.
- Your carton drawings and a description of your straw application machine, if possible.
With this information, your supplier can calculate the optimal print repeat length and the necessary tolerances to ensure your logo is centered and fully visible on the final, attached straw.
Should You Choose Horizontal or Vertical Print Orientation?
Your brand manager has a clear vision: the company logo must be perfectly level and upright on the straw wrapper. But your packaging engineer is raising concerns about alignment and potential waste. This is a classic dilemma, and the choice between horizontal and vertical print orientation is a key part of managing print registration on attached paper straw wrappers.
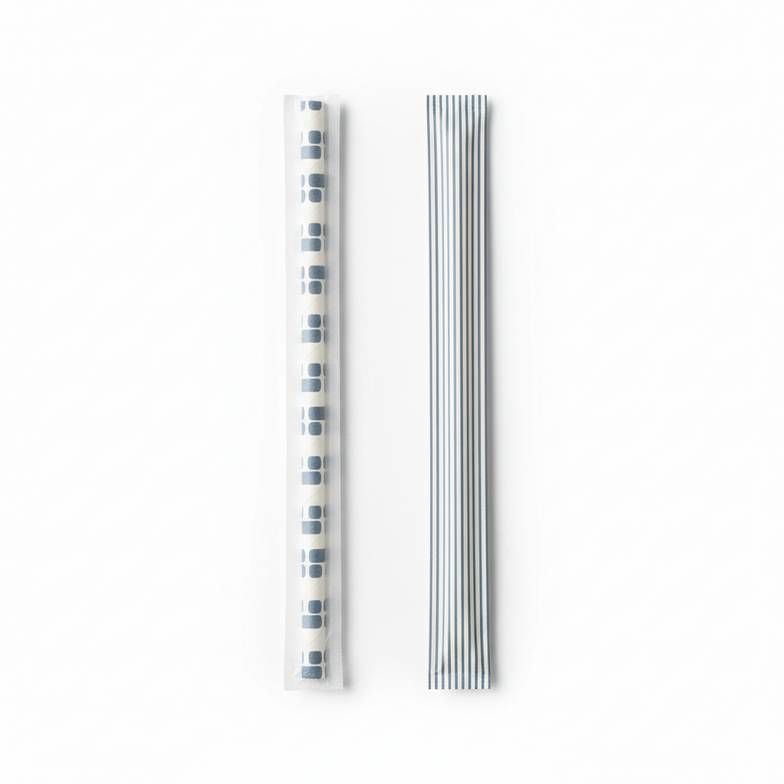
Horizontal orientation is necessary for logos that need to be read upright, but it demands very precise registration. Vertical orientation is far more forgiving for repeating patterns and textures, but it severely limits your design options for specific branding.
Dive Deeper: A Trade-Off Between Branding and Production
This decision is less about technical limits and more about balancing priorities. Do you prioritize a specific brand look, or do you prioritize production efficiency and lower cost?
The Case for Horizontal Orientation
When you have a logo, a mascot, or any text that has a clear "up" direction, horizontal orientation is your only real choice.
- The Upside: When it's done right, it looks incredibly professional. The branding is clear and intentional. It's non-negotiable for most major brands that have strict guidelines.
- The Downside: This approach is very sensitive to error. As the wrapper is formed around the straw, any tiny rotational shift becomes instantly obvious. A logo that's off by just a few degrees can look sloppy. This requires high-precision wrapping machinery and very careful setup. I've seen customers struggle with this when their carton applicator machines weren't calibrated perfectly, leading to a higher-than-expected rejection rate.
The Case for Vertical Orientation & Continuous Patterns
If your branding can be represented by a pattern—like stripes, dots, waves, or a repeating texture—a vertical orientation (or more accurately, a continuous pattern with no "up" direction) is the safer, more efficient choice.
- The Upside: This is the most forgiving option. Since there's no "correct" rotational position, any slight twist during wrapping is completely invisible. This can often allow for faster machine speeds and results in significantly lower material waste from misalignments.
- The Downside: It's not suitable for most logos. It works for creating a branded feel but not for displaying a specific brand mark.
To make it clearer, here’s how they stack up:
| Feature | Horizontal Orientation | Vertical Orientation / Continuous Pattern |
|---|---|---|
| Best For | Directional logos, specific text | Repeating patterns, textures, stripes |
| Branding Impact | High, very specific | General, atmospheric |
| Production Risk | High (requires extreme precision) | Low (very forgiving) |
| Potential Waste | Higher due to rejection tolerance | Minimal |
| Ideal Use Case | A beverage with a character mascot | A juice brand with a fruit-skin texture |
What Are the Biggest Risks with Poor Print Registration on Attached Paper Straw Wrappers?
You might think that a small printing error is just a cosmetic issue. An annoyance, maybe, but not a deal-breaker. But what if that "small error" could bring your entire multi-million dollar beverage packaging line to a screeching halt?
The biggest risk of poor print registration on attached paper straw wrappers isn't just a crooked logo; it's total operational failure. Incorrectly specified repeat lengths can place the registration mark where your carton applicator's sensor can't read it, causing machine jams and stopping production cold.
Dive Deeper: From Cosmetic Flaw to Operational Catastrophe
I once had a new client who was very focused on getting the color of their logo just right. They spent weeks on color matching. But they overlooked the technical file for the repeat length. The result? A whole container of beautifully colored, perfectly useless straw wrappers. Let's break down the risks so this doesn't happen to you.
The Obvious Risk: Wasted Money and Damaged Brands
This is the risk everyone sees first.
- Cut-off Logos: A logo that's consistently sliced in half looks unprofessional and cheapens your brand perception. Consumers might not consciously analyze it, but it contributes to an overall impression of low quality.
- Rejected Batches: Your quality control team will (and should) reject these straws. Now you're in a situation where you've paid for materials, printing, and manufacturing, but you have nothing to show for it. You have to scrap the batch and start over, delaying your product launch and doubling your costs.
The Hidden, Catastrophic Risk: Machine Incompatibility
This is the one that can get a packaging engineer fired. The finished rolls of wrapped straws are not the end of the line. They are a component that feeds into your carton applicator machine.
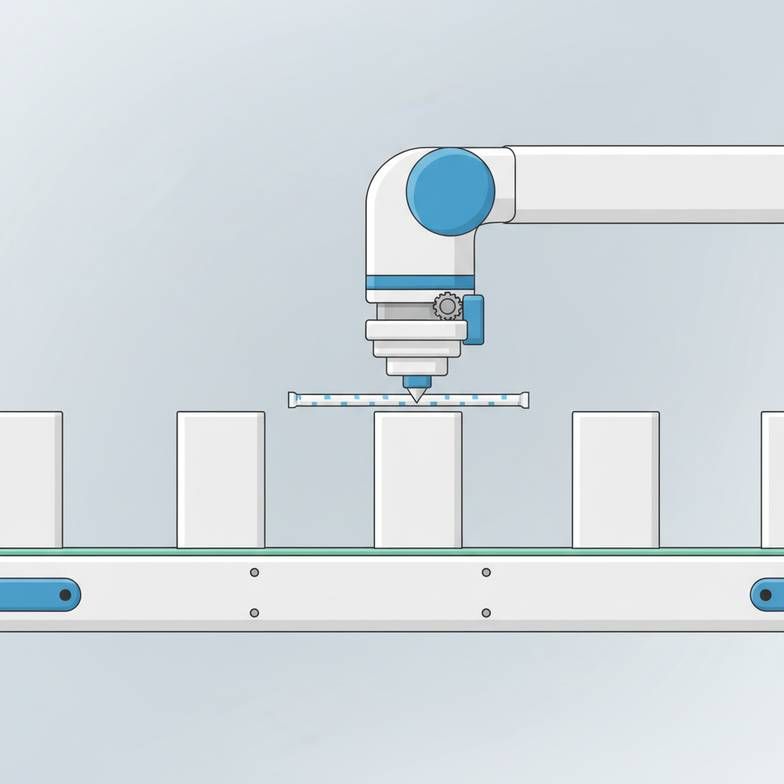
This machine moves at high speed, grabbing a straw, cutting the wrapper, and gluing it to the carton. It relies on an optical sensor to see the eye mark on the wrapper to time this action perfectly.
If your print registration is off, one of several things can happen:
- The Eye Mark is in the Wrong Place: The sensor looks for the mark in a specific zone. If the repeat length is wrong, the mark isn't there when the sensor looks for it. The machine faults and stops.
- The Eye Mark has Poor Contrast: If you print a dark blue eye mark on a black background, the sensor can't see the difference. It fails to trigger. The machine stops.
- The Eye Mark is Cut Off: If the safe zone around the eye mark is too small, a slight drift in cutting can slice the mark in half, making it unreadable. The machine stops.
When that machine stops, your entire packaging line downstream from it stops. Every minute of downtime on a high-speed beverage line costs a fortune. This is no longer a printing problem; it’s a major operational crisis.
A Pre-Flight Checklist to Avoid Disaster
- Confirm Sensor Compatibility: Ask your supplier to print the eye mark in high-contrast black. Confirm the required size of the mark with the manufacturer of your applicator machine.
- Share Your Specs: Always give your straw supplier your final carton drawings and, if possible, the brand and model of your straw applicator. An experienced supplier will recognize potential compatibility issues.
- Demand a Sample: Never go to full production without seeing a printed sample on the actual, final wrapper material. A PDF proof doesn't show you how the ink lies on the paper or how the material behaves.
- Run a Test Roll: The ultimate safety check. Before you order 5 million straws, order a single small roll and run it on your actual machinery. It is the best money you will ever spend.
Frequently Asked Questions
What is an "eye mark" on a straw wrapper?
An eye mark, or registration mark, is a small, printed rectangle (usually black) on the wrapper film. It’s not part of the design. Its job is to be detected by an optical sensor on automated machinery, which then triggers an action like cutting or applying the straw to a carton.
Can I print a design over the entire wrapper?
While you can have a "full bleed" design, it's critical to leave a "quiet zone" of blank space around the eye mark. The sensor needs a clean, high-contrast area to read the mark reliably. Any patterns or colors too close to the eye mark can interfere with the sensor and cause machine errors.
How much tolerance should I allow for the print position?
This depends heavily on the precision of both the wrapping machine and the applicator machine. A typical tolerance might be between +/- 1mm to 2mm, but this isn't a universal standard. The best practice is to discuss this with your supplier. They can recommend a safe tolerance based on your design and their equipment's capabilities.
Does the type of paper affect print registration?
Absolutely. Different paper stocks have varying levels of thickness, texture, and elasticity (stretch). A design that holds perfect registration on one type of paper might drift on another. This is why it's crucial that all samples and tests are performed on the exact, final-spec paper you plan to use for the full production run.
Conclusion
Ultimately, achieving perfect print registration on attached paper straw wrappers is not about finding a single magic number for repeat length. It is a collaborative process that balances your branding goals with the physical realities of high-speed production. By shifting your focus from "What's the standard?" to "What's the right solution for my project?", you change the dynamic. By clearly defining your straw and carton, making a strategic choice on print orientation, and working with a supplier to calculate the correct repeat length and tolerances, you mitigate the biggest risks. This turns a potentially complex technical specification into a reliable, brand-enhancing component of your final product.
Ready to get your custom printed straws right the first time? Submit your straw specifications and carton details, and let our experienced team help you configure the perfect print layout for your production line.
Matched Formats for Beverage Cartons
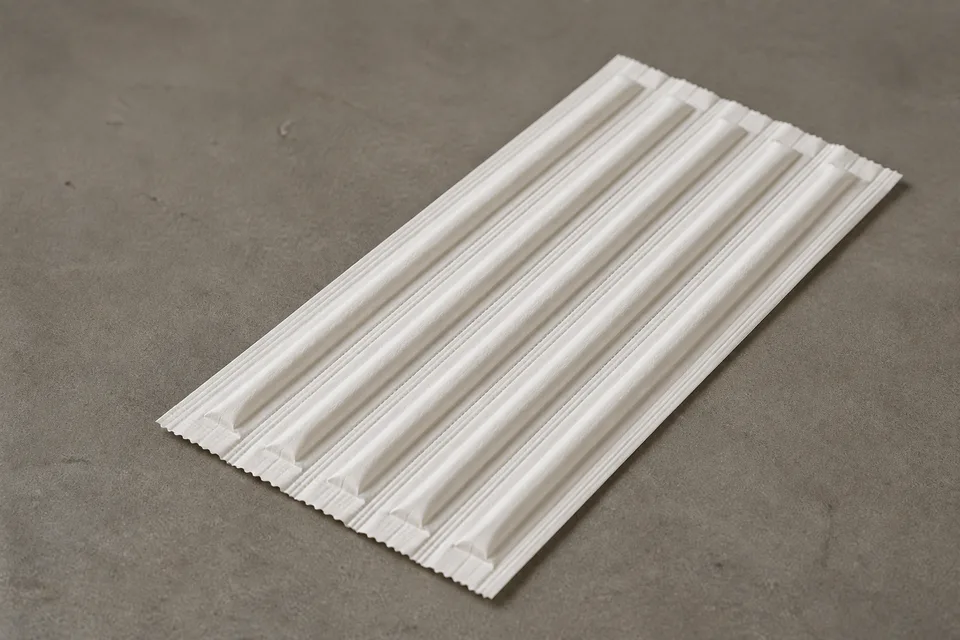
Attached Paper Straws
Connected continuous strip for high-speed automatic carton applicators.
View Product Specs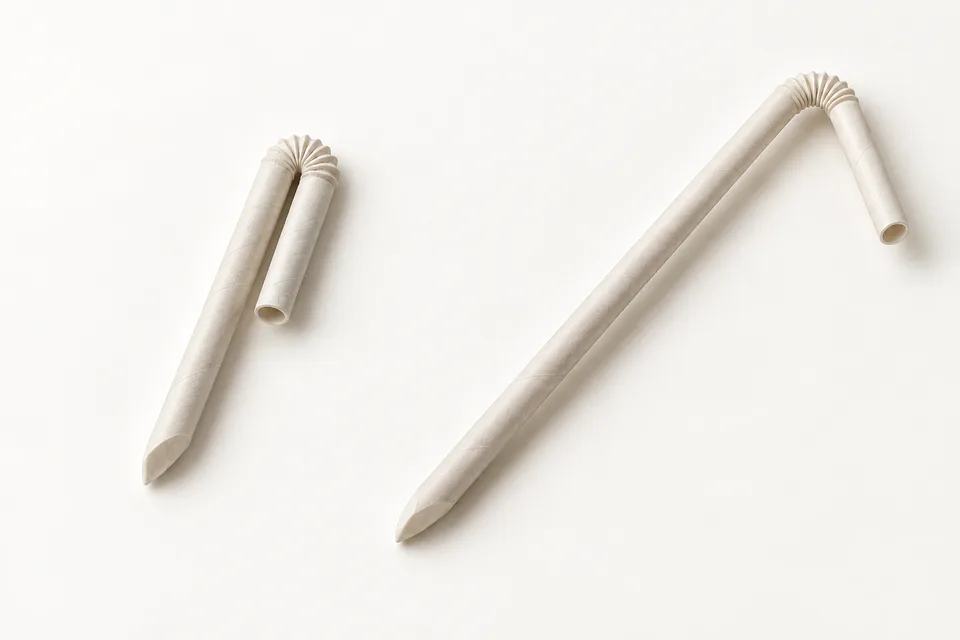
U-Shaped Paper Straws
Folded 180° format maximizing drinking reach on compact beverage cartons.
View Product Specs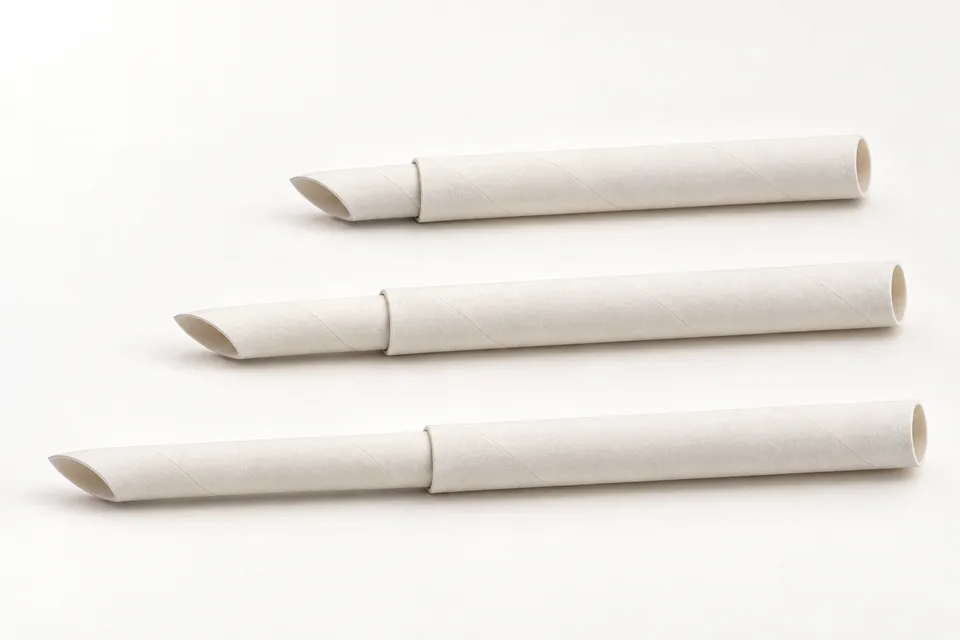
Telescopic Paper Straws
Two-section extendable design offering maximum reach from minimum packed length.
View Product Specs